Ultimate upgrade case of Orange Pi Zero 2

Andy Haluza
JS developer, tech geek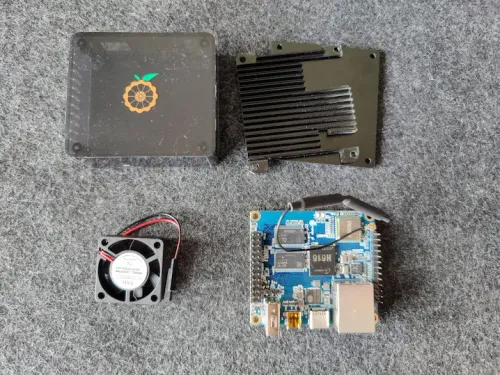
Table of Contents:
- Introduction to the Orange Pi and its capabilities
- Reasons for wanting to upgrade the Orange Pi
- Step-by-step instructions for upgrading the Orange Pi
- Testing the upgraded Orange Pi
- Conclusion and reflections on the process of upgrading the Orange Pi, including any challenges or successes experienced
As we know from previous posts the Orange Pi is a single-board computer that is similar in design and functionality to the more well-known Raspberry Pi. It is produced by the Chinese manufacturer Shenzhen Xunlong Software Co., Ltd., and was first released in 2014. Like the Raspberry Pi, the Orange Pi is a popular choice for hobbyists, makers, and DIY enthusiasts who want to build their own projects using a low-cost, versatile computer.
The Orange Pi is capable of running a variety of operating systems, including various Linux distributions and Android. It can be used for a wide range of applications, such as media centers, file servers, game consoles, and even home automation systems. Some models of the Orange Pi also include built-in Wi-Fi, Bluetooth, and other connectivity options, making them ideal for IoT (Internet of Things) projects.
Why did I upgrade, and what exactly did I upgrade? I upgraded the case for visual purposes and to avoid collecting a layer of dust inside (or at least, I believe it will reduce it). However, the main focus of the upgrade was heat dissipation. Stock Orange Pi's do not come with active coolers, which means they are non-cooled PCs. I tried using it in its original form, but it tended to get quite warm, especially during the summer. Therefore, I decided to take action and improve the cooling system.
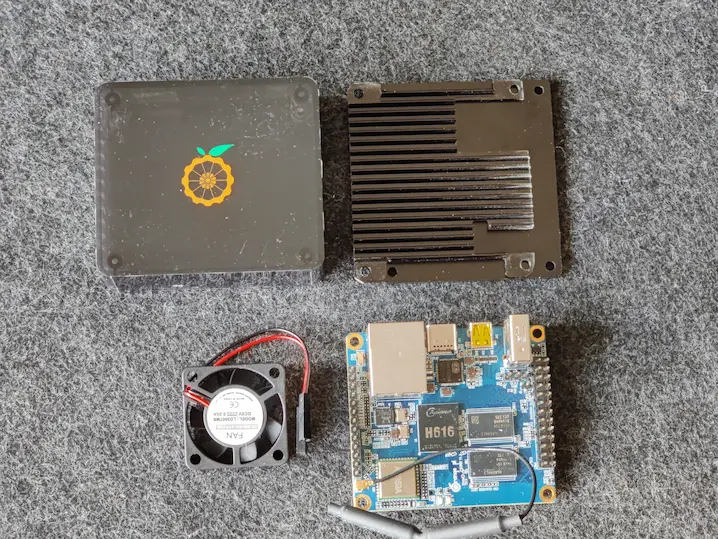
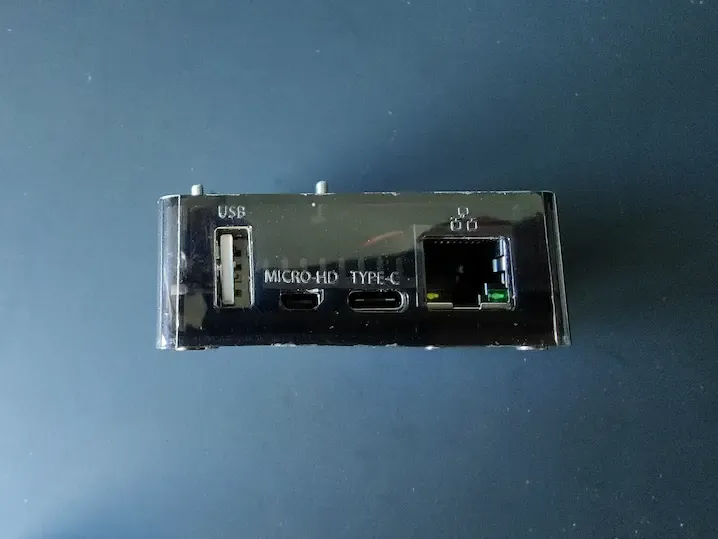
Let's gather all the necessary equipment: the Orange Pi board, a plastic case, an aluminum heat radiator, and a small cooling fan.
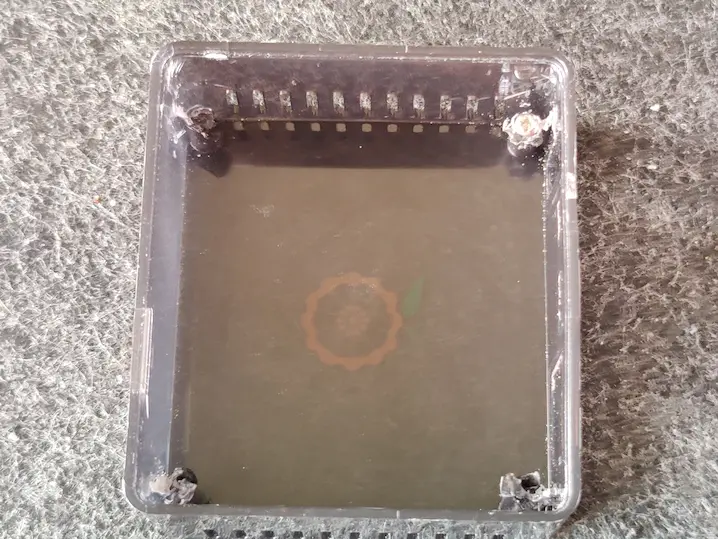
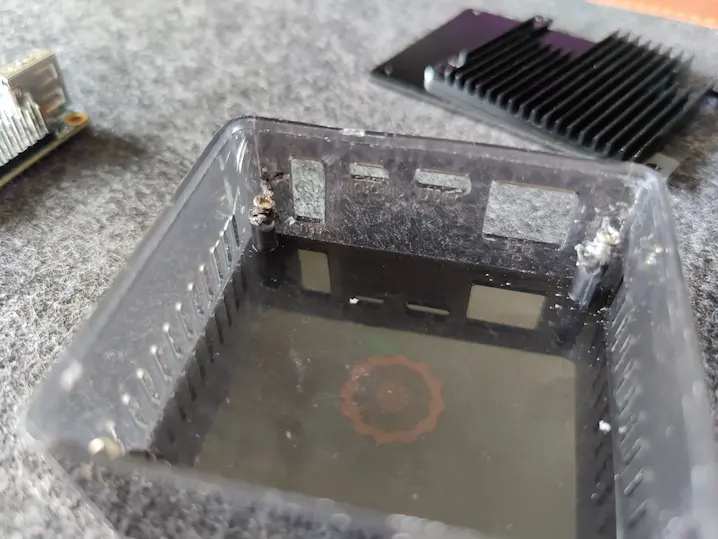
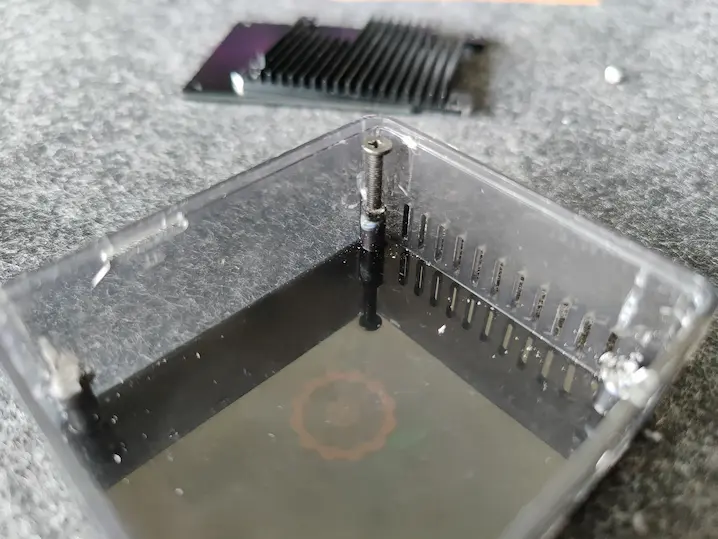
The first step is to prepare the case to accommodate the Pi and radiator. This involves cutting out the original screw locations, as they obstruct the installation of the radiator. As you can see, I was not very careful in my approach :D
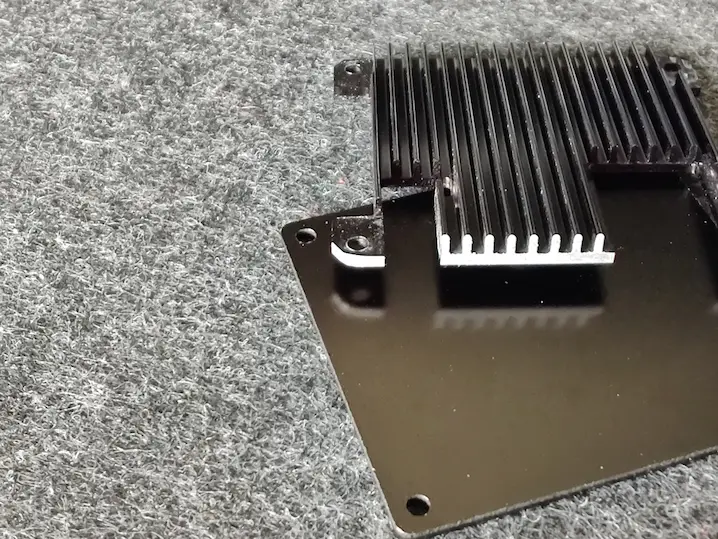
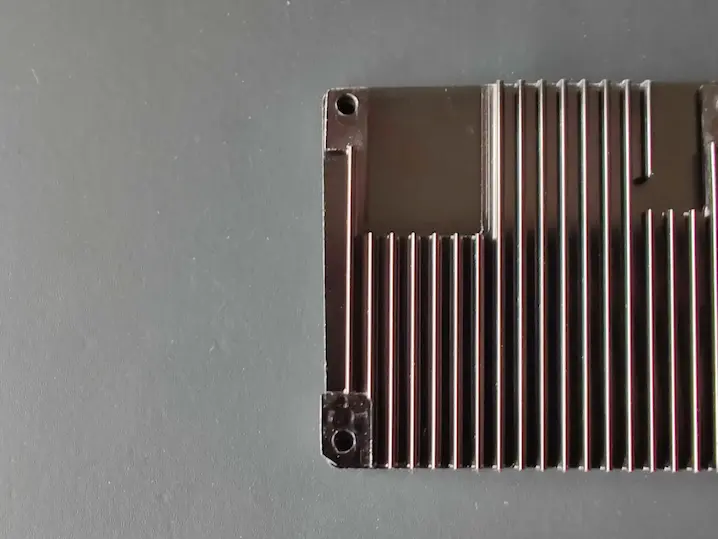
The next step is to install the radiator and secure it within the case. To ensure a proper fit, I used sandpaper to smooth down one side and round off some edges.
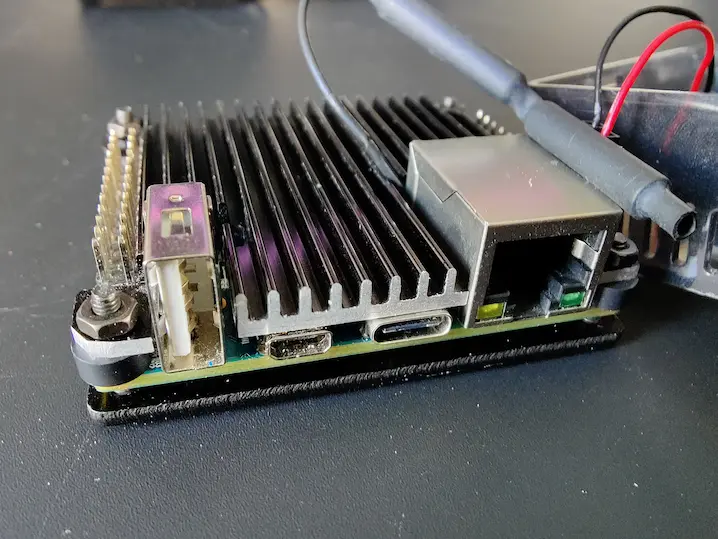
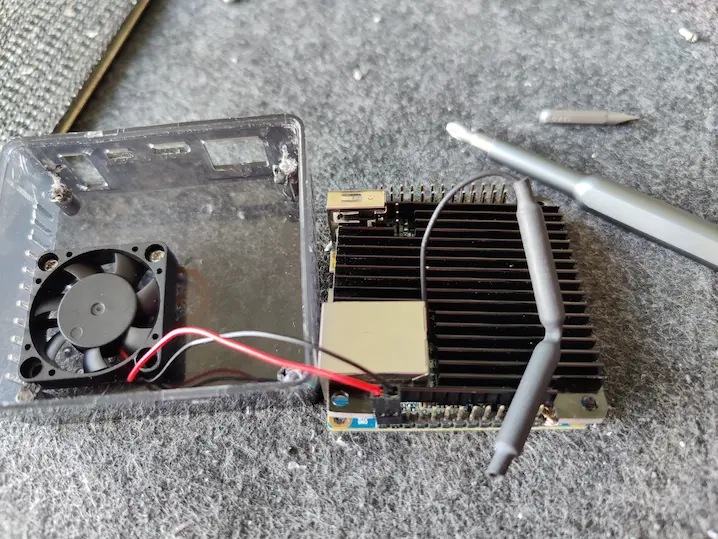
So now Orange looks like this. You might have noticed that there are also spacers between the boards; they were included in the package.
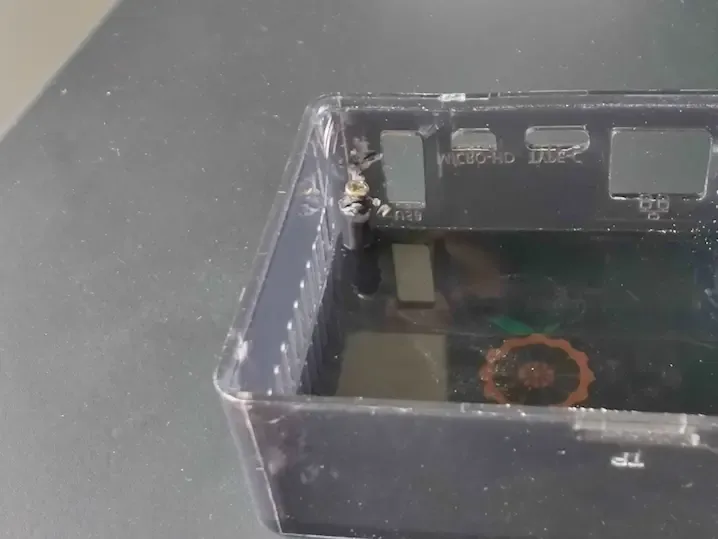
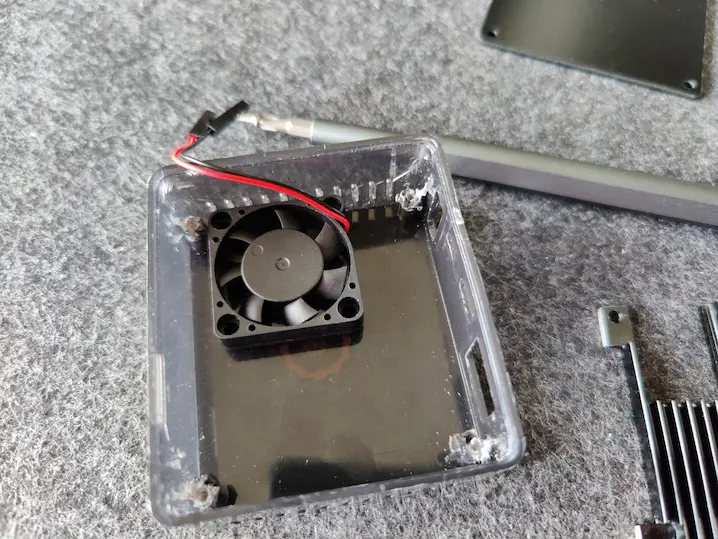
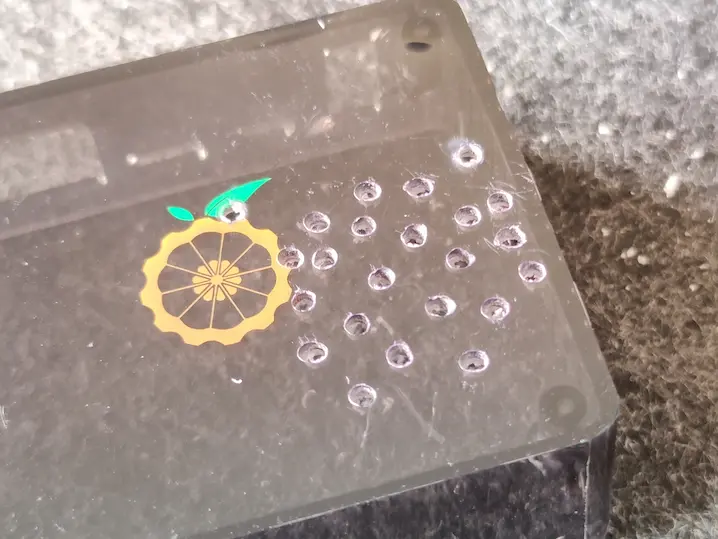
We are now able to modify the case to accommodate a cooler. (Please describe the cooler specs and link.) While it would be easier to place the cooler outside the case, it would look much worse. Therefore, I have made holes for screws in the top of the case to bolt on the cooler inside the case. I have also measured the cable to ensure it fits for connecting to the board. Please also take a look at the contacts I have used for the connection.
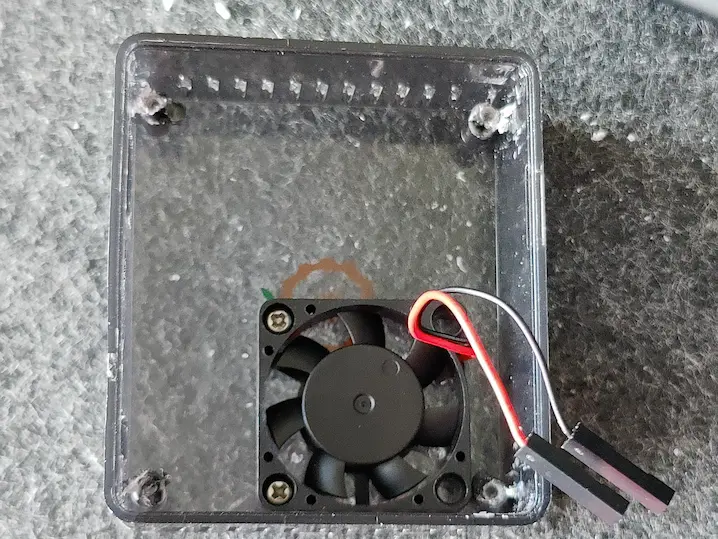
In the end, I realized that I didn't have any small bolts that fit perfectly. Therefore, I used what I had temporarily (but everyone knows, nothing is more permanent than the temporary :) )
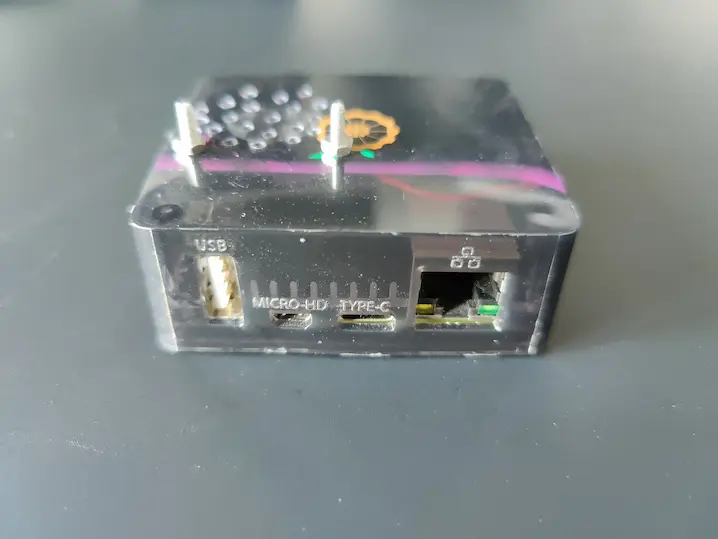
So, that's the result.
This upgrade in common increased heat dissipation by about 3 degrees, which is a significant improvement. The additional heat dissipation can help prevent the device from overheating, which can cause damage to internal components. Additionally, the increased cooling can also improve the overall performance and lifespan of the device. It is important to note that this upgrade is particularly beneficial for devices that are used for intensive tasks or for extended periods of time, as they are more likely to experience overheating issues. The cooler does produce some noise, especially when starting up. However, I can attest that the noise level is quite low and is not bothersome. I have found that placing the cooler far away from my ears at home has helped me to not hear it :) . Additionally, it is important to consider that the noise level may depend on the specific model and how it is used.
After working on improvements, I am happy to say that I have been able to successfully decrease the heating to a normal level. It was a quick and cost-effective solution that I was able to implement. I am grateful that I was able to find a solution to this issue. I was fearful that the computer would fail due to high temperatures.
Thank you for taking the time to read about my experience. I hope that it can be helpful or inspiring to others.
Andy Haluza
Author bio: JS developer, tech geek
