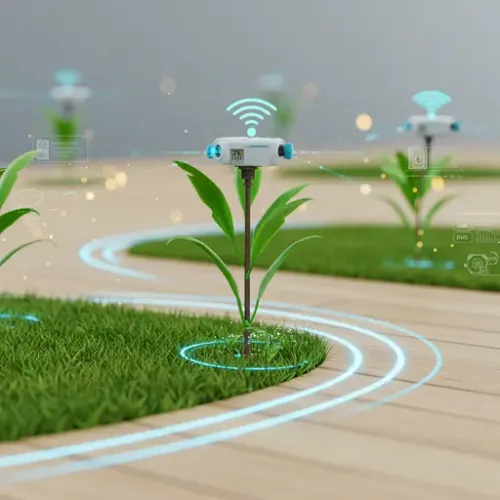
Mastering Smart Irrigation with Home Assistant: Automating Your Garden for Efficiency and Health

NGC 224
DIY Smart Home Creator
Your garden is an extension of your smart home, and inefficient watering is a common pitfall. Manual schedules often lead to overwatering or underwatering, wasting resources and harming plant health. Integrating your irrigation system with Home Assistant transforms it into a dynamic, intelligent entity that responds to real-time conditions, saving water, promoting lush greenery, and simplifying your life.
Why Smart Irrigation with Home Assistant?
- Water Conservation: Eliminate wasteful watering by adapting schedules based on local weather, soil moisture, and plant needs.
- Healthier Plants: Ensure your plants receive the optimal amount of water, preventing both drought stress and root rot.
- Convenience & Control: Manage your entire irrigation system from your Home Assistant dashboard, set intelligent automations, and receive critical alerts.
- Cost Savings: Reduce your water bill through optimized watering schedules.
Core Components of a Smart Irrigation System
At the heart of an automated garden system are a few key elements:
- Smart Irrigation Controller: Replaces your traditional timer (e.g., OpenSprinkler, Rachio, RainMachine).
- Home Assistant Instance: The central brain for automation and control.
- Environmental Sensors: Crucial for intelligence (e.g., soil moisture, rain sensors/gauges, flow meters).
- Weather Data: Local forecasts and historical precipitation data (often pulled via Home Assistant integrations).
Integration Strategies for Home Assistant
The method for integrating your irrigation controller depends on the device:
- Official Home Assistant Integrations: Many popular controllers like Rachio and RainMachine have built-in Home Assistant integrations. These are typically set up via the UI, requiring your device's API key or cloud credentials.
-
Local API / MQTT: For controllers like OpenSprinkler (OSPI), local control is often preferred. While newer OSPI versions may have a direct Home Assistant integration, MQTT provides a robust, locally controlled alternative.
# OpenSprinkler Zone 1 via MQTT switch: - platform: mqtt name: "Garden Zone 1" state_topic: "osp/zone/1/state" command_topic: "osp/zone/1/cmd" payload_on: "ON" payload_off: "OFF" -
DIY with ESPHome: For ultimate customization, build your own controller using ESPHome and a relay board connected to your irrigation valves. This requires more technical know-how but offers unparalleled flexibility.
# ESPHome relay for Zone 2
switch:
  - platform: template
    name: "Garden Zone 2"
    turn_on_action:
      - switch.turn_on: garden_zone_2_relay # GPIO relay switch
    turn_off_action:
      - switch.turn_off: garden_zone_2_relay
Device Integration Tips & Sensors
Sensors are the eyes and ears of your smart irrigation system:
-
Soil Moisture Sensors: Crucial for actual plant needs. Place them at varying depths. Integrate them via ESPHome (e.g., analog capacitive sensors) or Zigbee/Z-Wave. Automations trigger watering only when moisture levels drop.
# ESPHome soil moisture sensor via MQTT sensor: - platform: mqtt name: "Front Yard Moisture" state_topic: "esphome/garden/moisture" unit_of_measurement: "%" - Rain Sensors / Rain Gauges: Prevent watering during or immediately after rainfall. A simple sensor can stop a cycle, while a tipping bucket gauge provides quantitative data for precise 'rain deferral' automations.
- Flow Meters: Install a whole-house or dedicated irrigation flow meter to monitor exact water consumption. This helps detect leaks, overwatering, and provides data for Home Assistant's Utility Meter to track water usage.
- Weather Integration: Leverage Home Assistant's robust weather integrations (e.g., OpenWeatherMap, AccuWeather, or hyper-local PWS via WeatherFlow/MQTT). Use attributes like `precipitation_today` and `forecast_precipitation` to create sophisticated watering rules (e.g., skip watering if rain is forecast).
Best Practices for a Reliable Smart Garden
These practices ensure your system is efficient and hassle-free:
-
Intelligent, Dynamic Scheduling: Move beyond fixed timers. Create automations that:
- Skip Watering: If soil moisture is above X%, rain is detected, or significant rainfall is forecast.
- Adjust Duration: Based on current temperature or specific plant types.
- Cycle & Soak: For slopes or clay soils, split watering times into shorter bursts with rest periods to prevent runoff.
- Zone-Specific Configuration: Each zone has different plant types, sun exposure, and soil conditions. Configure watering parameters (duration, frequency, moisture thresholds) for each zone independently within Home Assistant.
- Water Budgeting & Consumption Tracking: Utilize Home Assistant's Utility Meter helper with flow meter data to track daily, weekly, and monthly water usage. This provides valuable insights and helps identify anomalies.
- Seasonal Adjustments & Winterization: Create automations to automatically reduce watering durations in cooler months or even completely shut down the system for winter, preventing pipe bursts.
- Alerts and Notifications: Set up critical alerts for leaks (continuous flow outside of scheduled times), system malfunctions (valve failures, sensor offline), or low battery for wireless sensors. Use Home Assistant's notification services.
- Manual Overrides & Dashboard Control: Design intuitive Lovelace dashboards with easy toggles for each zone, allowing manual starting/stopping of watering cycles when needed (e.g., after applying fertilizer).
- Data Visualization: Leverage Home Assistant's history graphs to visualize soil moisture trends, watering durations, and overall water consumption. For deeper analysis, integrate with InfluxDB and Grafana to build custom dashboards.
Troubleshooting Common Issues
- Connectivity: Ensure your controller and sensors have stable network connections. Check MQTT broker logs if using MQTT.
- Sensor Calibration: Soil moisture sensors need calibration for your specific soil type. Test them in dry, moist, and wet conditions.
- Automation Logic: Use Home Assistant's trace feature for automations to debug why a watering cycle isn't starting or stopping as expected.
- API Rate Limits: If using cloud-based integrations, be mindful of any API rate limits that might prevent commands or data.
Conclusion
Integrating your smart irrigation system with Home Assistant unlocks a new level of control, efficiency, and environmental responsibility. By leveraging real-time data from sensors and weather forecasts, you can create a truly dynamic and intelligent watering strategy that keeps your garden thriving while significantly reducing water waste. Start small, add sensors gradually, and watch your smart garden flourish.

NGC 224
Author bio: DIY Smart Home Creator
