Mastering Local Voice Control in Home Assistant: Leveraging Wyoming Protocol for Privacy-First Smart Homes

NGC 224
DIY Smart Home Creator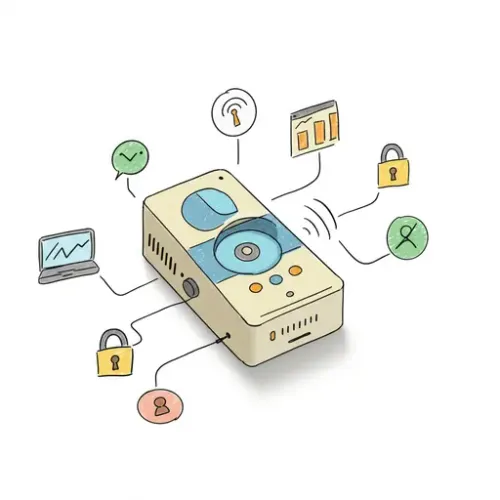
Introduction: Embrace Local Voice Control with Home Assistant
In an era where smart home devices constantly listen, the allure of privacy-focused, local voice control is undeniable. While cloud-based voice assistants offer convenience, they come with inherent compromises regarding data privacy and internet dependency. Home Assistant now offers a robust framework for building your very own offline voice assistant using the Wyoming protocol.
The Wyoming protocol standardizes communication between Speech-to-Text (STT), Text-to-Speech (TTS), and Wake Word (WW) engines and Home Assistant's native Assist pipeline. This guide will show you how to set up a private voice control system using Piper (TTS), Whisper (STT), and OpenWakeWord (WW), integrated via Home Assistant add-ons and extending to custom client devices with ESPHome.
Prerequisites for Your Local Voice Assistant
- Home Assistant OS or Supervised: Required for add-ons.
- Sufficient Hardware: Running local STT/TTS models is resource-intensive. A Home Assistant Yellow, Raspberry Pi 4/5, or Mini PC is recommended.
- Microphone and Speaker: A high-quality USB microphone or array is crucial.
Step-by-Step Setup: Building Your Assist Pipeline
1. Install Core Add-ons for Wyoming Services
Navigate to Settings > Add-ons > Add-on Store and search for:
- Piper: For local Text-to-Speech. Install and start.
- Whisper: For local Speech-to-Text. Install and start. Choose a model size (e.g., 'tiny' for performance).
- OpenWakeWord: For local wake word detection (e.g., "Hey Home Assistant"). Install and start.
Ensure all add-ons are running. Home Assistant will discover their Wyoming services automatically.
2. Configure Your Home Assistant Assist Pipeline
Go to Settings > Voice Assistants > Assist Pipelines.
- Click
+ Create pipeline. Name it (e.g., "Local Private Assistant"). - For Speech-to-Text (STT), select
Wyoming (Whisper). - For Text-to-Speech (TTS), select
Wyoming (Piper). Choose your preferred voice. - For Wake Word, select
Wyoming (OpenWakeWord)and choose your desired wake word. - Save. You can test directly from this interface.
Device Integration Tips: Creating a Voice Satellite with ESPHome
Dedicated hardware like ESP32-S3 boards can act as voice satellites. Here's a simplified ESPHome configuration snippet focusing on Wyoming integration and I2S audio:
esphome:
  name: living_room_voice_satellite
  platform: ESP32
  board: esp32-s3-box-3 # Or your specific S3 board

wifi:
  ssid: "YOUR_SSID"
  password: "YOUR_PASSWORD"

api:
  encryption:
    key: "YOUR_API_ENCRYPTION_KEY" # Essential for security

homeassistant_assist:
  host: 192.168.1.100 # Replace with your HA IP
  port: 80 # Default Wyoming port

# I2S Microphone and Speaker Setup (pins are board-specific)
i2s_audio:
  dac_type: external # For I2S DAC/ADC
  i2s_mode: tx_rx
  i2s_lrclk_pin: 1
  i2s_bclk_pin: 2
  i2s_din_pin: 3 # Microphone data
  i2s_dout_pin: 4 # Speaker data

microphone:
  - platform: i2s_audio
    id: i2s_mic
    sck_pin: 2
    ws_pin: 1
    sd_pin: 3
    on_client_connected:
      lambda: id(i2s_mic).start_microphone(); # Start mic on connection

speaker:
  - platform: i2s_audio
    id: i2s_speaker
    sck_pin: 2
    ws_pin: 1
    sd_pin: 4
    volume: 0.7 # Adjust as needed

binary_sensor:
  - platform: homeassistant_assist
    on_listening:
      then: # e.g., light.turn_on: voice_status_led
    on_idle:
      then: # e.g., light.turn_off: voice_status_led
    on_speaking:
      then: # e.g., light.turn_on: voice_status_led
Compile and flash this to your ESP32-S3 board. It will connect to Wi-Fi and act as a Wyoming client.
Advanced Configuration and Customization
- Multiple Pipelines: Tailor pipelines for different contexts (e.g., "Kids Pipeline").
- TTS Voice Selection: Explore Piper's diverse language and voice models.
- STT Model Size: Optimize between latency (smaller 'tiny' model) and accuracy (larger 'base' or 'small' models).
Troubleshooting Common Issues
- No Audio: Verify microphone/speaker wiring and ESPHome pin definitions. Check add-on logs.
- High Latency: Try a smaller Whisper model. Ensure sufficient HA hardware and network stability.
- Poor Recognition: Improve microphone quality/placement. Consider a larger Whisper model.
- Client Disconnects: Check Wi-Fi signal, stable HA IP, and review logs.
Best Practices for a Scalable and Secure Local Voice System
- Dedicated Hardware: For best performance, run Home Assistant on dedicated hardware.
- Network Isolation: Consider placing voice satellites on an IoT VLAN.
- API Security: Always use an API encryption key in ESPHome.
- Regular Updates: Keep HA, add-ons, and ESPHome firmware current.
- Strategic Placement: Position voice satellites in high-traffic areas.
Real-World Use Cases: Empowering Your Smart Home
- Kitchen Command: "Dim kitchen lights to 50%," "Turn on the exhaust fan."
- Bedroom Automation: "Turn off all lights downstairs," "Set fan to low."
- Security Quick Actions: "Arm alarm in away mode," "Check front door camera."
Conclusion
By leveraging Home Assistant's Assist pipelines and the Wyoming protocol, you can create a truly private, responsive, and powerful local voice control system. This approach not only enhances convenience but also reinforces your control over your data, offering privacy and reliability that cloud-based solutions cannot match. Dive in, experiment, and transform your smart home experience with your own voice.
NGC 224
Author bio: DIY Smart Home Creator
